
How to Inspect a Cage Mill to Extend Cage Mill Life
It's not imaginary. Over time, internal components wear down, especially with abrasive material running through the cage mill. This degradation of the internal metal is not a design or engineering flaw in the machine, it is a fundamental truth of the crusher’s physics and properties of the metal. Since this is known, what can be done to minimize or correct oversize material in the final product?
It is important to regularly inspect the external and internal cage mill components. That means greasing the bearing assemblies and maintaining a consistent routine. Refer to the specific machine’s manual to adhere to a recommended maintenance program. In general, grease the bearings every 40 hours of run time. This timing could mean 5 days or 2 days depending on the process. When inspecting the shaft assembly, check the labyrinth seals purge grease to assure contaminants are expunged from the bearings.
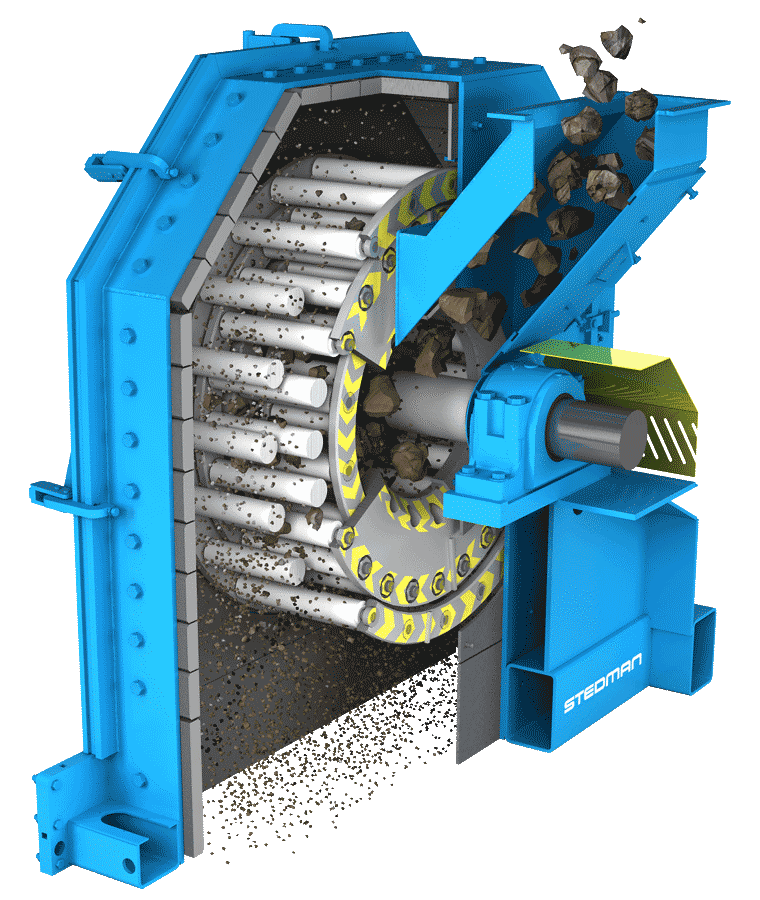
Following a specific inspection process assures smoother operation of the cage mill. Prior to opening the cage mill open the side inspection doors. Inspection doors of the unit housing help identify how far the cages are from the walls of the housing to properly nest new and replacement cages in the mill. Release the housing locks and pedestal clamps prior to opening the cage mill housing. Proceed with the internal inspection once opening the unit.
Now that the cage mill is open, inspect the exposed wear plates and side liners. Clean any debris from the impact plates and cages. Look for cracks, breaks, non-uniformity, or excessive wear on the plates. Check that the cage sleeves are not worn too much in the middle and the wear is uniform. When the sleeves are worn too much, the sleeve bolt that holds the sleeve in place can potentially become exposed. The mild steel sleeve bolt wears away exponentially when exposed to material. A thrown sleeve causes significant damage to the internal workings of the cage mill.
Next, check the bands and disks holding the sleeves in place. Typical wear is on the hard coat of the inner and outer part of the rings. If the hard coat is missing, it is time to contact Stedman to determine next steps for repair or replacement. Following the disks, look at the small cage hub and shaft protector to assure the hard coat is intact. Last, check the integrity of the hopper ring that funnels material feed to the internal cage. Hopper rings can wear in the middle allowing material to fall between the cages and housing side wall. An excessively worn hopper ring allows oversize material in the end product.